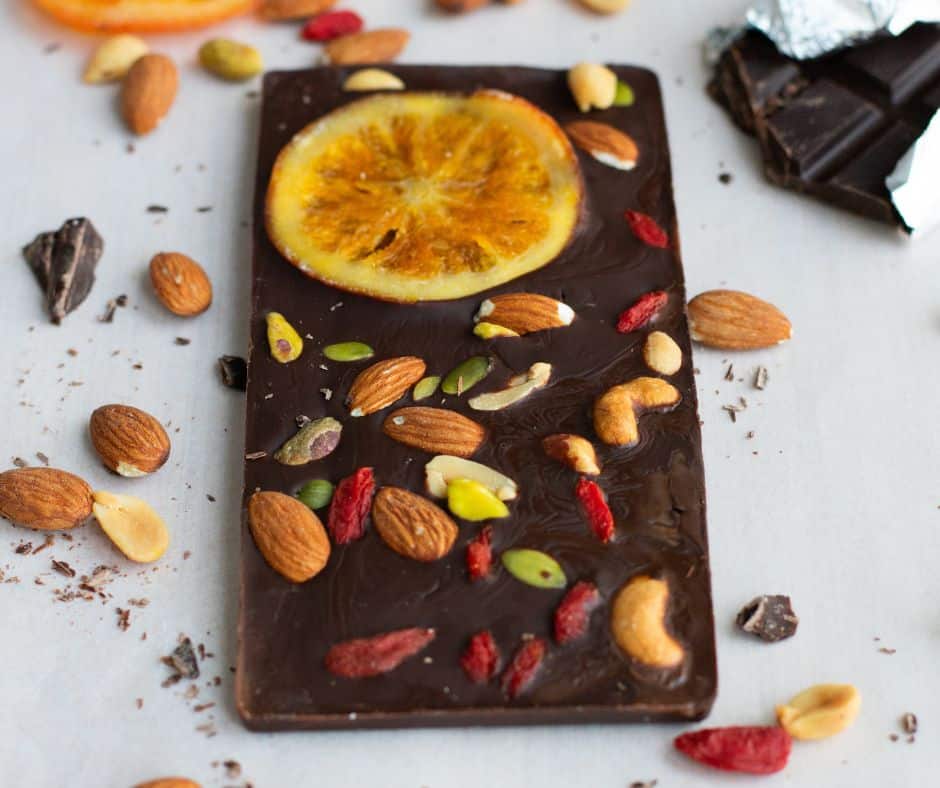
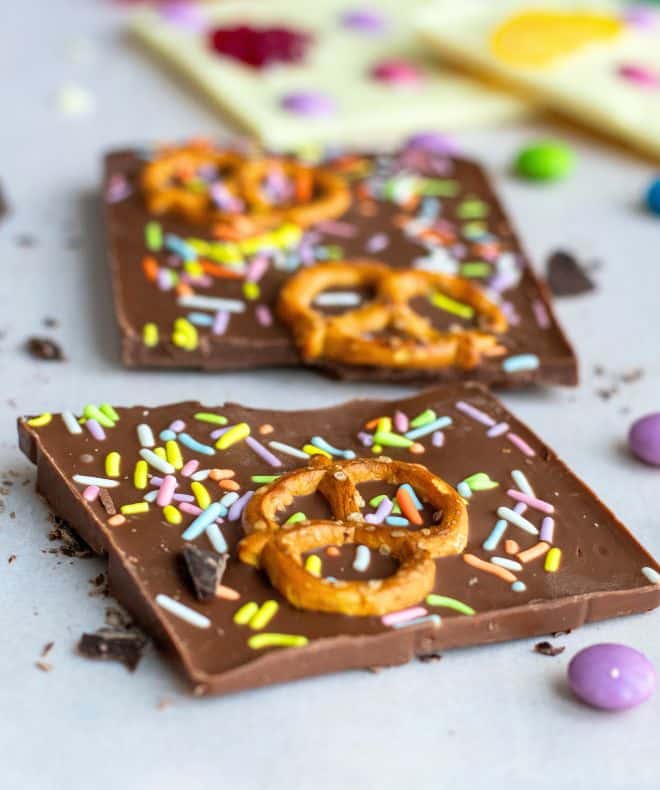
This simple and delicious treat is perfect for satisfying your sweet tooth, and it’s a great gift for friends and family. In this blog post, we’ll show you how to make Homemade Chocolate Bars in just a few easy steps.
I love making this for Tu Bishvat with dried fruits and nuts and for Purim with cookies and candies.
Ingredients Overview
*The full recipe is in the recipe card below!
Chocolate- dark, white, or milk: I definitely recommend using a high-quality chocolate bar. Another option is candy melts or wafers. Don’t use chocolate chips if you can help; they have some additives and tend to be more challenging to work with.
Oil: Adding oil helps to achieve a smoother and more velvety texture in the chocolate. It prevents the chocolate from becoming too thick or clumpy, ensuring a glossy and even consistency. I like to use coconut oil, but any neutral oil works.
Add-ons: Get creative with add-ins such as chopped nuts (almonds, walnuts, hazelnuts), dried fruits (cranberries, raisins, apricots), gummy, pretzels, or even spices (cinnamon, chili powder) for a unique twist.

How to Make Homemade Chocolate Bars
It is a good idea to prepare your ingredients in advance.
First, melt your chocolate with the oil: The easiest way is in the microwave, but it can also be melted in a double boiler on the stove.
Pour the melted chocolate into the molds, and if you want to add nuts, dried fruits, etc…
Allow the chocolate to cool and set. You can speed up the process by placing it in the freezer for about an hour. Once the chocolate has completely hardened, remove it from the molds and enjoy.
FAQs
Yes, you can choose between dark, milk, or white chocolate based on your preference.
Absolutely! Double, triple…
Store in an airtight container in a cool, dry place, ideally less than 70ºF/21ºC. The bark will last for several weeks and doesn’t need to be refrigerated.
If you have to store it in the refrigerator, make sure it’s in an airtight container to prevent moisture and smells from spoiling the chocolate.
Gift It: This makes a great homemade gift! Gift it in a cute bag with a ribbon on top.
More Recipes You’ll Love
Tahini Pretzel Chocolate Chip Cookies

Homemade Chocolate Bars
Description
Equipment
- Icing spatula optional
Ingredients
- 3.5 oz (100g) of your favorite chocolate
- 1 Teaspoon neutral oil like vegetable/ canola/ soybean or coconut oil
- 1/4 cup of toppings dried fruits nuts, candy, pretzels…
Instructions
- Chop the chocolate into small, even pieces.
- Place the chopped chocolate and oil in a microwave-safe bowl. Microwave in short 20-30 second bursts, stirring between each burst until the chocolate is fully melted. Be cautious not to overheat the chocolate.
- Pour the melted chocolate into the molds, and if you want to add nuts, dried fruits, etc…
- Allow the chocolate to cool and set. You can speed up the process by placing it in the freezer for about an hour.
- Once the chocolate has completely hardened, remove it from the molds and enjoy.


Thank you
🙂
LOVE IT
thank you
great