Baking homemade cakes for special occasions is a thoughtful and personal way to show someone that you care about them, and it can be a wonderful way to celebrate a birthday or other special occasion. I think that homemade cakes have a unique flavor and texture that you can’t get from store-bought cakes, and they can be a great way to create memories that will last a lifetime.
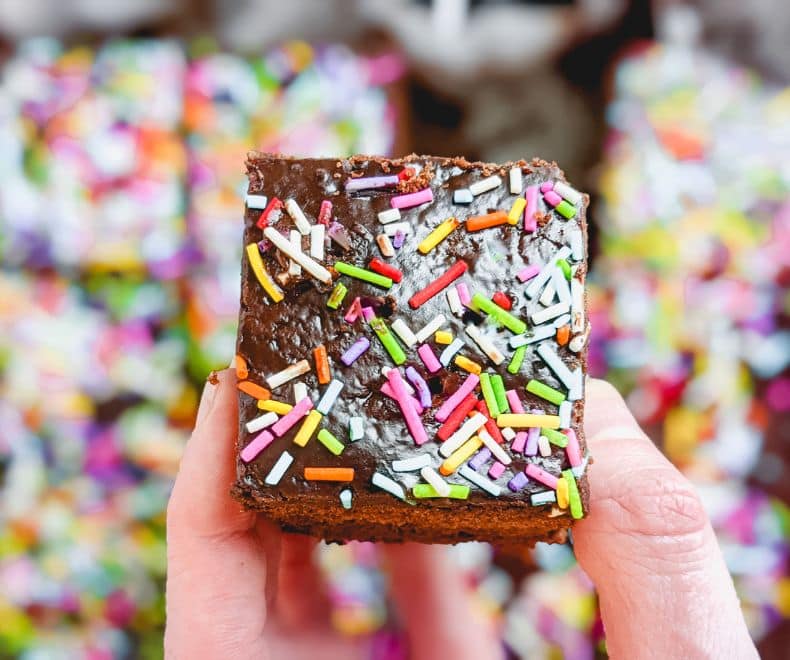
My mom used to bake homemade cakes for us for our birthdays, and we got to choose our own decorations (usually sprinkles). This nostalgic- vintage easy recipe has been in my collection for over 13 years, and I love making it for my kids’ birthdays. The cake is super moist and simple to make, and you probably already have the ingredients in your pantry.
Ingredients Overview
*The full recipe is in the recipe card below!
All-purpose flour: Regular all-purpose flour forms the base of these cut-out butter cookies. Be sure to measure your flour carefully for the best texture.
Butter: Unsalted
Cocoa powder (unsweetened): It is unusual for a chocolate cake to have no chocolate. However, the cocoa powder gives the cake a chocolate-like flavor.
FAQs
Room temperature: If you plan to eat the chocolate cake within a few days, you can store it at room temperature. Place the cake on a plate or cake stand and cover it loosely with plastic wrap or aluminum foil.
Refrigerator: If you need to store the chocolate cake for a longer period of time, you can keep it in the refrigerator. Tightly wrap the cake in plastic wrap or aluminum foil, or place it in an airtight container. The cake will stay fresh in the refrigerator for 3-5 days. Let it come to room temperature before serving.
Freezer: If you need to store the chocolate cake for an extended period of time, you can freeze it without the frosting. Tightly wrap the cake in plastic wrap or aluminum foil, or place it in an airtight container. The cake will stay fresh in the freezer for up to 2-3 months.
To thaw a frozen chocolate cake, place it in the refrigerator for several hours or overnight until it is fully thawed.
More Recipes You’ll Love
Sufganiyot- Israeli Hanukkah Doughnuts
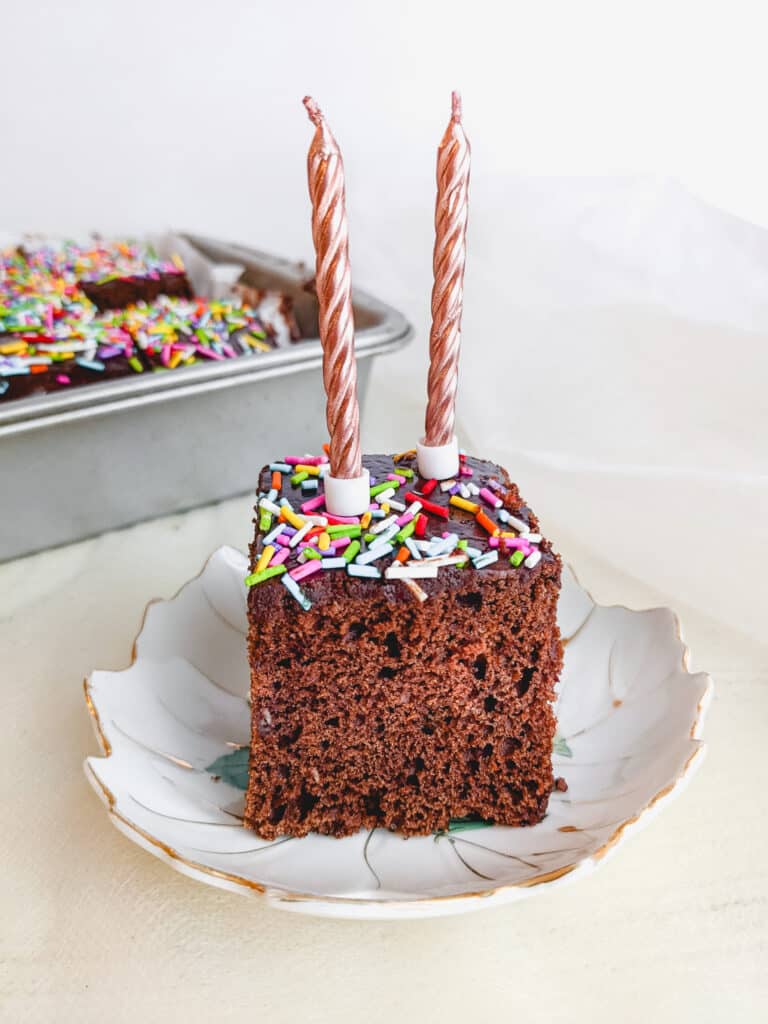
Nostalgic Israeli Birthday Cake
Description
Equipment
- 9-inch springform pan (24 cm) OR
- 9" x 13" rectangle baking pan
- Skewers optional
Ingredients
The cake:
- 2 sticks (220 grams) butter plus a little more for greasing the pan
- 2 1/2 cups (500 grams) granulated sugar
- 1 1/2 cups (360 ml) water
- 1/4 cup (40 grams) sifted cocoa powder plus a little more for dusting the pan
- 1 teaspoon (5 grams) baking soda
- 3 large eggs lightly beaten
- 2 1/2 cups (350 grams) all-purpose flour
- 2 teaspoons (8 grams) baking powder
- 1/4 teaspoon instant coffee powder (regular or decaf) optional
- 1/4 teaspoon salt
The frosting:
- 1/2 cup (100 grams) granulated sugar
- 1/4 cup (50 grams) butter
- 2 Tablespoons (30ml) whole milk
- 2 Tablespoons (20 grams) cocoa powder
- 1 teaspoon vanilla extract
- sprinkles
Instructions
The cake:
- Preheat the oven to 325°F/160°C.
- Heavily grease the pan with butter and dust with cocoa powder.
- In a large saucepan over medium heat, melt the butter, sugar, water, instant coffee, and sifted cocoa powder. Bring to a gentle boil.
- Turn off the heat and add baking soda (the batter is going to rise for a second and that's OK).
- Add the eggs and beat fast and strong (otherwise, you're going to end up with a chocolate omelet).
- Sift together flour, baking powder, and salt and add to the mixture. Mix well until there are no lumps.
- Pour the batter into the prepared cake pan and bake for 25-35 minutes until the cake is firm, and a skewer comes out almost completely dry (with moist crumbs). Cool completely before frosting.
Frosting:
- Heat all the frosting ingredients until the mixture turns into smooth chocolate syrup.
- Pour over the cake. Let it sit for 10 minutes, decorate or sprinkle on some sprinkles!
Childhood favorite!
same:-)
Great recipe
thank you
SO easy
🙂
My kids loved it
yay!
Turned out great
yay
Super moist. Where can I find these sprinkles?
amazon