I have been making these Hanukkah Cookies for many, many years, and this is my go-to recipe when I have less than an hour to make a dessert. No funny ingredients and no chilling time. Just simple, chewy, chocolatey cookies.
Reasons to Love This DIY Gift:
- It can be made ahead of time, so there is no need to stress about last-minute shopping.
- Customize your cookie mix by choosing festive ingredients. Think blue, yellow, and white M&M or sprinkles, white chocolate chips, marshmallows, or even gelt (chocolate coins) for that extra holiday flair.
- There’s something special about homemade gifts. Your recipients will savor the delicious cookies and appreciate the effort and care you put into creating such a personalized treat.
- What’s better than the gift of a freshly baked tray of cookies?!
Ingredients Overview
Dry ingredients for the jar: Flour, baking soda, salt, light brown sugar, granulated sugar, chocolate chips, and M&Ms or chocolate coins are layered into a jar and sealed until ready to bake.
Wet ingredients to add when ready to bake: Butter, eggs, and vanilla to bring the cookie dough together.
Butter: Softened to room temperature. I always recommend using unsalted butter because you can add whatever salt you need separately.
White Sugar: You can use granulated white sugar or organic cane sugar.
Brown sugar: I use light brown sugar.
Flour: I recommend using unbleached, all-purpose flour to make these chocolate chip cookies.
Eggs: An essential ingredient to achieve the desired texture, structure, and flavor.
Toppings: About 1.5 cups of a delightful mix of chocolate chips, chocolate chunks, M&M’s, chocolate coins, marshmallows, and sprinkles. Feel free to use any combination, make sure you fill the jar completely to the top.
Tools Needed
- 1 Quart Mason jar with lid. Avoid attempting to halve the recipe or use a smaller jar; stick to the specified 1-quart size for optimal results.
- Measuring spoons and cups or a food scale. Precise measurements are essential to ensure your cookies turn out perfectly.
- Recipe card. Printable below.
- Ribbon.
How to Make Cookies in a Jar?
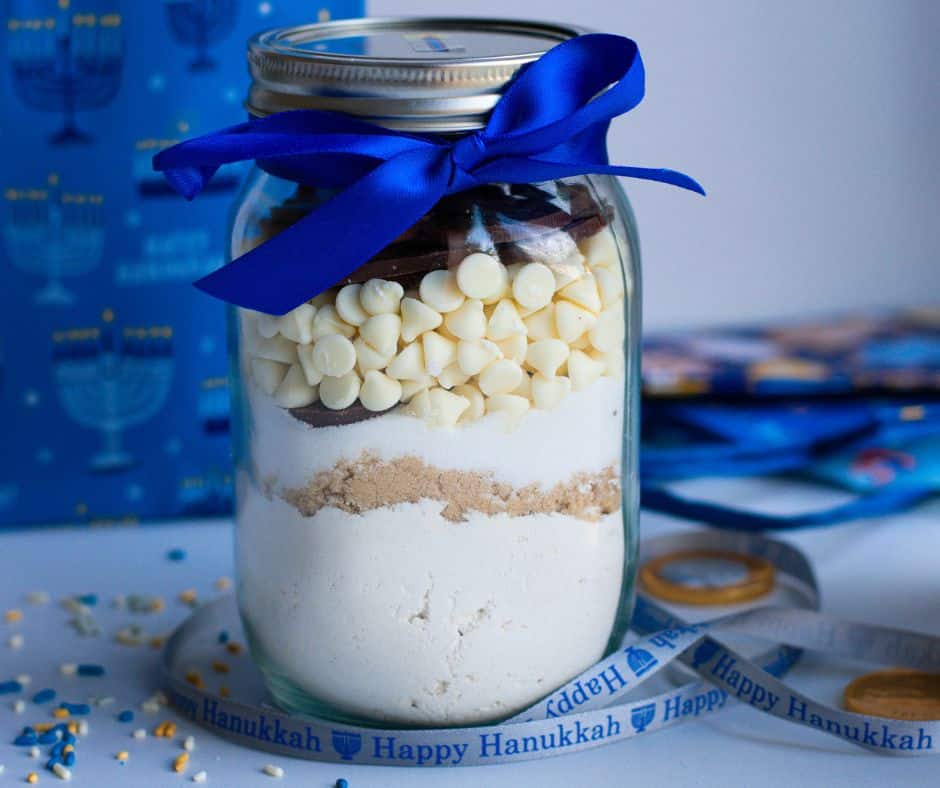
With this simple recipe, we’re not just sharing a delightful treat; we’re giving the gift of a cozy baking experience. Follow the ingredients in the recipe card below to layer the dry ingredients into jars, creating a visual delight showcasing the rich flavors waiting to be unleashed.
Using a spoon begin to layer the ingredients. Take your time with each layer, allowing the colors and textures to stand out. The contrast of dark and light ingredients adds a visual appeal. Once your jar is filled with the layers, seal it tightly. Attach a tag with the baking instructions and a warm note, letting the recipient know they hold the key to a delicious homemade treat.

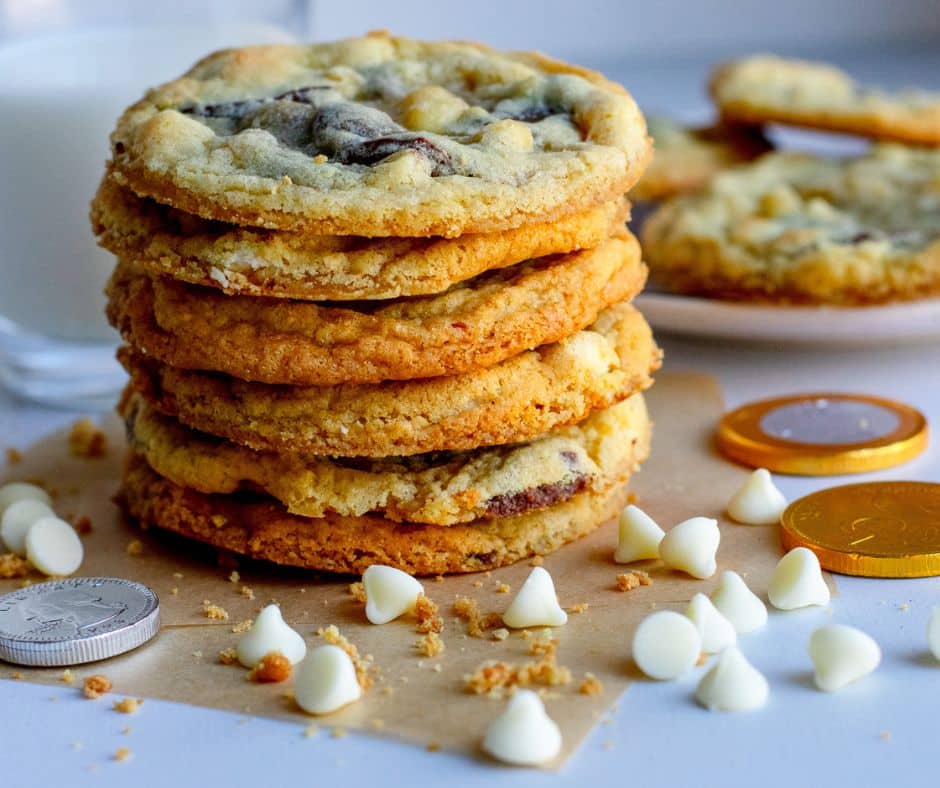
The baked cookies:-)
Free Printable
Click this link for the PDF of the instruction tags
Tips for Making a Cookie Mix in a Jar
- Select a clean and dry jar with a tight-sealing lid.
- When adding ingredients to the jar, layer them to create a visually appealing presentation.
- After adding each layer, gently pack down the ingredients using the back of a spoon. This helps to ensure a snug fit and prevents the layers from blending together.
- Provide a recipe card or tag with clear instructions on how to use the mix. Include any additional ingredients needed, along with baking instructions.
- Add a festive touch to the jar by attaching a decorative ribbon.
- Before gifting or storing, make sure the jar is tightly sealed to maintain the freshness of the ingredients.
Craving More Cookies?
Game-Changing Tahini Chocolate Chip Cookies
Israeli Chocolate Swirl Cookies
Easy Caramel Cookie Dunkers with Date Syrup

DIY Hanukkah Cookies in a Jar
Description
Ingredients
Cookies in a Jar
- 2 cups (280g) all-purpose flour spooned and leveled
- 1 and 1/2 Teaspoons baking soda
- 1/2 Teaspoon salt
- 3/4 cup (150g) light brown sugar press it firmly into the measuring cup!
- 1 cup (200g) granulated sugar
- About 1 and 1/2 cups of a delightful mix of chocolate chips, chocolate chunks, M&M’s, chocolate coins, marshmallows, and sprinkles. Feel free to use any combination, make sure you fill the jar completely to the top.
Gift recipient will add the following:
- 2 sticks= 1 cup (220g) unsalted butter at room temperature
- 1 Teaspoon vanilla extract
- 2 large eggs
Instructions
To make the jar:
- In a medium bowl, whisk together flour, baking soda, and salt. Set aside.
- Using a spoon or a funnel, begin to layer the ingredients inside the jar:-The flour mixture -Brown sugar-White sugar -Chocolate and candy
- Seal the lid, decorate with ribbon, and gift with the free printable instructions.
To bake the cookies:
- Preheat the oven to 375°F/190°C. Line baking sheets with parchment paper.
- In a large bowl with a hand mixer or a stand mixer fitted with a paddle attachment, beat the butter, eggs, and vanilla together on high speed until combined. Scrape down the sides of the bowl as needed. Don’t worry if the eggs aren’t fully combined with the butter; it’ll all come together with the dry ingredients.
- Add all of the jar ingredients and mix on low speed until combined.
- Roll about 1/4-cup measuring of dough at a time into balls and place them evenly spaced on your prepared baking sheets (not more than 6 on a sheet).
- Bake for 10-14 minutes. Take them out when they are just until the edges are set. Let them sit on the baking pan for 2-4 minutes before removing to the cooling rack.
Notes
Tips for Making a Cookie Mix in a Jar
- Select a clean and dry jar with a tight-sealing lid.
- When adding ingredients to the jar, layer them to create a visually appealing presentation.
- After adding each layer, gently pack down the ingredients using the back of a spoon. This helps to ensure a snug fit and prevents the layers from blending together.
- Provide a recipe card or tag with clear instructions on how to use the mix. Include any additional ingredients needed, along with baking instructions.
- Add a festive touch to the jar by attaching a decorative ribbon.
- Before gifting or storing, make sure the jar is tightly sealed to maintain the freshness of the ingredients.


Wow that’s awesome
thank you
FUN
great idea
thank you