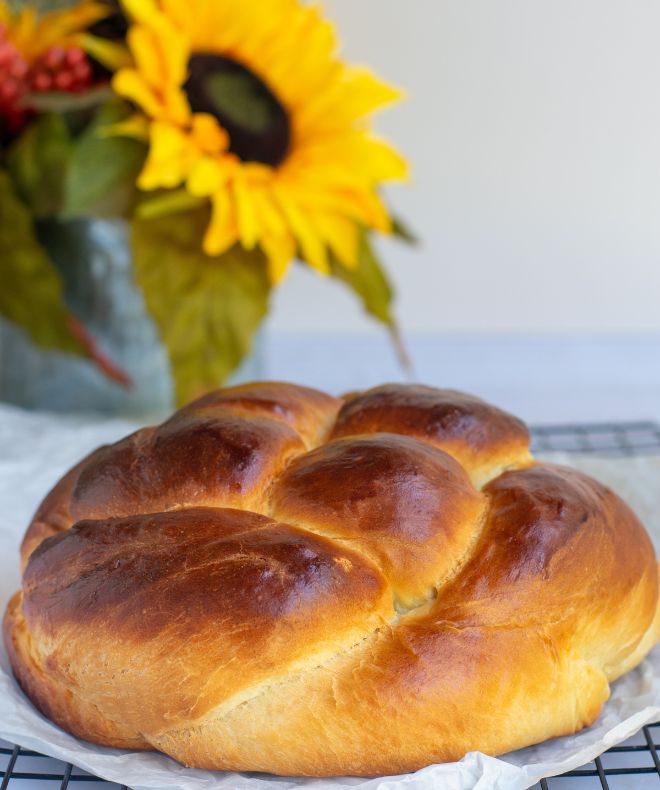
Challah is a traditional Jewish bread that is typically enjoyed on Sabbath and holidays. One of the most iconic variations of Challah is round Challah with honey.
Traditional Challah is already a treat in itself, but adding honey to the mix takes it to a whole new level of deliciousness. Honey brings a delightful sweetness and a beautiful golden hue to the bread, making it even more enticing to the eye and palate.
For my “The Complete Challah Guide” FREE ebook, join my mailing list here.
Tell Me More About This Challah with Honey
- Texture: A soft, springy, and fluffy texture. I usually use all-purpose flour, but your Challah will be a little chewier if you use bread flour.
- Flavor: Adding honey to the Challah dough infuses the bread with natural sweetness.
- Ease: Crafting homemade dough and shaping it demands greater precision and exertion than making say, a Chocolate Tahini Cake. But the dough is pretty straightforward and simple to shape if you follow all the steps.
- Time: To properly prepare this dough, it needs to undergo two rising periods.
Pro-Tips
Properly measure the ingredients: Accurate measurements are crucial for baking.
Water: Because each flour is different, stored differently, and has different absorption capacities, the amount of liquid will almost always change. Even if you always use the same flour, it may be that the flour will absorb more liquid on different days. So, start with half a cup of water and add as needed gradually. The dough should be very soft but not sticky. Dough lacking in liquid will be stiffer and less comfortable to work with.
Mixing the dough: Scrap the sides of the bowl occasionally with a rubber spatula to ensure all ingredients are incorporated.
The first rise: About an hour and a half or until the dough doubles. But that figure can also change radically, especially if it’s particularly cold weather, which will then require a few hours for the dough to increase in size. In summer, it can be much shorter.
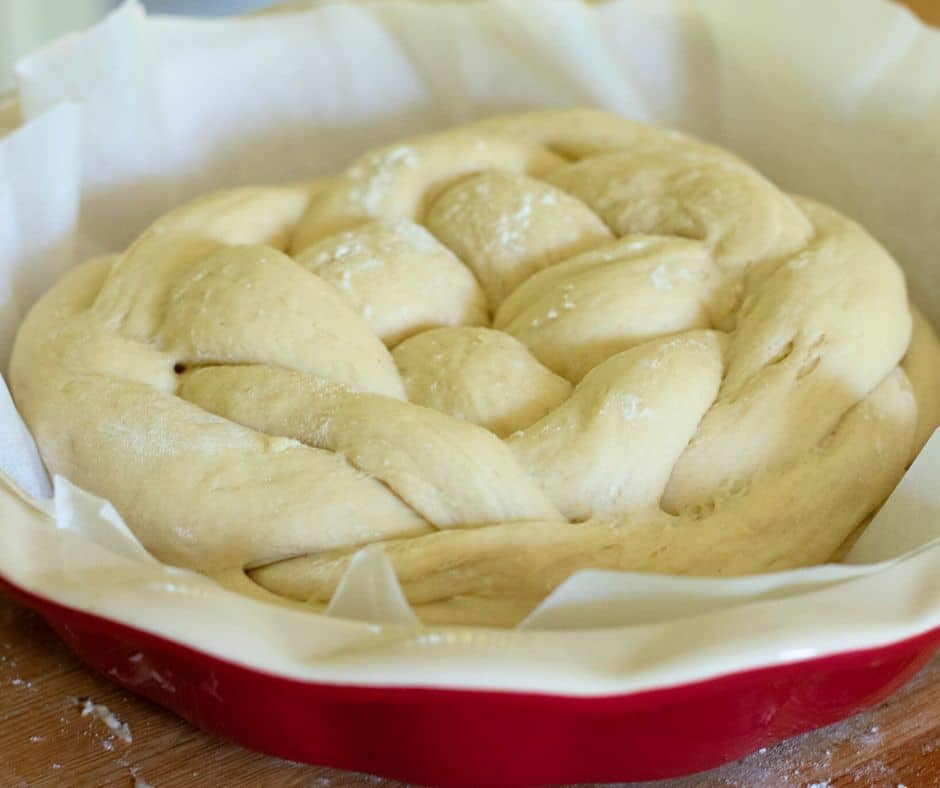
Shaping: It is essential to braid the loaf slightly loosely so the dough can rise.
*There are many options for braiding; watch my tutorials here.
Here is how to braid a Round Challah
FAQs
Allow Challah to cool completely before storing it. Challah is always best when eaten within the same day of baking. Place in a plastic bag for up to 3 days.
Challah freezes beautifully, and you can freeze a whole loaf or slices. If you are going to freeze your bread, do so on the first day when it is fresh.
Wrap the loaf tightly in two layers of plastic wrap before placing it in a large resealable freezer bag. Press out as much air as possible and stow it in the freezer for up to 3 months.
To defrost, leave the bread out at room temperature. When it has thawed, remove the plastic wrap and rewrap it in foil. If you like your bread warm, pop it into the oven at 350°F/180°C for 10-15 minutes.
Yes! Just skip the egg wash and brush the Challah with honey before it goes into the oven and again when it comes out of the oven.
More Recipes You’ll Love
Challah for Rosh Hashanah with Apple and Honey
Challah with Honey
Description
Equipment
- Food scale *Highly recommended*
- Instant read food thermometer *Highly recommended*
- Mixer with a dough hook *Highly recommended*
- Rolling pin
- Baking sheet
- Parchment paper
- Pastry brush
Ingredients
The dough:
- 3 and 1/2 cups (500g) sifted, all-purpose flour I strongly recommend sifting the flour; it will result in a more delicate dough with a more significant volume.
- 1/4 cup (50g) honey
- 1 Tablespoon (10g) active dry yeast
- 1/4 cup (60ml) canola oil plus a little more for greasing
- 1 and 1/4 to 1 and 1/2 cups (300-360ml) lukewarm water
- 1/2 Teaspoon salt
For the topping:
- Optional egg mixed with one tablespoon of water If you don't use eggs, just brush the challah with honey before it goes into the oven and again after it comes out. The egg wash gives the challah a darker color.
- 2 Tablespoons honey
- 1 Tablespoon (15ml) hot water
Instructions
- Put flour, honey, and yeast in the bowl of a standing mixer with a dough hook, put flour, honey, and yeast (or in a large mixing bowl if kneading by hand), and mix on low speed for about a minute.
- Let the mixer work while slowly adding the oil.
- Slowly add water and mix to form the dough .*Because each flour is different, stored differently, and has different absorption capacities, the amount of liquid will almost always change. Even if you always use the same flour, it may be that on different days, the flour will absorb more liquid than before. So, start with half a cup of water and gradually add enough until the dough is soft but not sticky. Dough that lacks liquid will be stiffer and much less comfortable to work with. The water temperature should be warm.
- Increase the speed to medium. Add the salt and knead for 10-15 minutes (It helps the gluten form and the dough to be elastic with better structure).
- Grease the dough with a little bit of oil, cover with a kitchen towel and let the dough rise until doubled (place the bowl somewhere warm).
- Separate the dough into equal pieces, depending on your braiding.
- Roll each piece of dough into a long rope. Braid the ropes.
- Line a baking sheet with parchment paper and place the Challah on it.
- Place the pan somewhere warm, cover with a towel, and let it rise until puffed, about an hour.
- Heat the oven to 400°F/200°C. When ready to bake, whisk the egg with a tablespoon of water and brush it all over the Challah.
- Slide the Challah on its baking sheet into the oven and bake for 25 to 30 minutes. The Challah is done when it is a rich golden brown and registers 190°F/90°C in the very middle with an instant-read thermometer.
- Whisk the honey with a tablespoon of water and brush it all over the Challah when it comes out of the oven.
- Let the Challah cool on a cooling rack. Enjoy!
Notes
- Weigh all your ingredients and get everything in order so you can follow the recipe exactly.
- Mixing the dough: Scrap the sides of the bowl occasionally with a rubber spatula to ensure all ingredients are incorporated.
- Water: Because each flour is different, stored differently, and has different absorption capacities, the amount of liquid will almost always change. Even if you always use the same flour, it may be that the flour will absorb more liquid on different days. So, start with half a cup of water and add as needed gradually. The dough should be very soft but not sticky. Dough lacking in liquid will be stiffer and less comfortable to work with.
- The first rise: About an hour and a half or until the dough doubles. But that figure can also change radically, especially if it’s particularly cold weather, which will then require a few hours for the dough to increase in size. In summer, it can be much shorter.
- Shaping: It is essential to braid the loaf slightly loosely so the dough can rise.
Love it
YUM
Going to make it
great recipe
thank you
Saving this
Great recipe! Chag Samach
thank you
Do you have a regular recipe for Challa baking by hand?
You can knead the dough by hand!You don’t have to use a mixer